Configure Container Resources in Docker Desktop
Docker allows you to configure container resources either by editing configuration files directly or through the docker desktop of the application. Below is a detailed guide for both methods.
Method 1: Editing Configuration Files
All docker desktop settings are stored in settings-store.json file. The locations as per the operating system are:
- Mac:
~/Library/Group\ Containers/group.com.docker/settings-store.json - Windows:
C:\Users\[USERNAME]\AppData\Roaming\Docker\settings-store.json - Linux:
~/.docker/desktop/settings-store.json
To modify container resources, update the following parameters in the file:
- CPU: Adjust the
cpusparameter. - Memory: Change the
memoryMiBparameter. - Disk: Modify the
diskSizeMiBparameter.
Method 2: Using the Docker Desktop Application
Follow these steps to configure resources via the Docker Desktop:
-
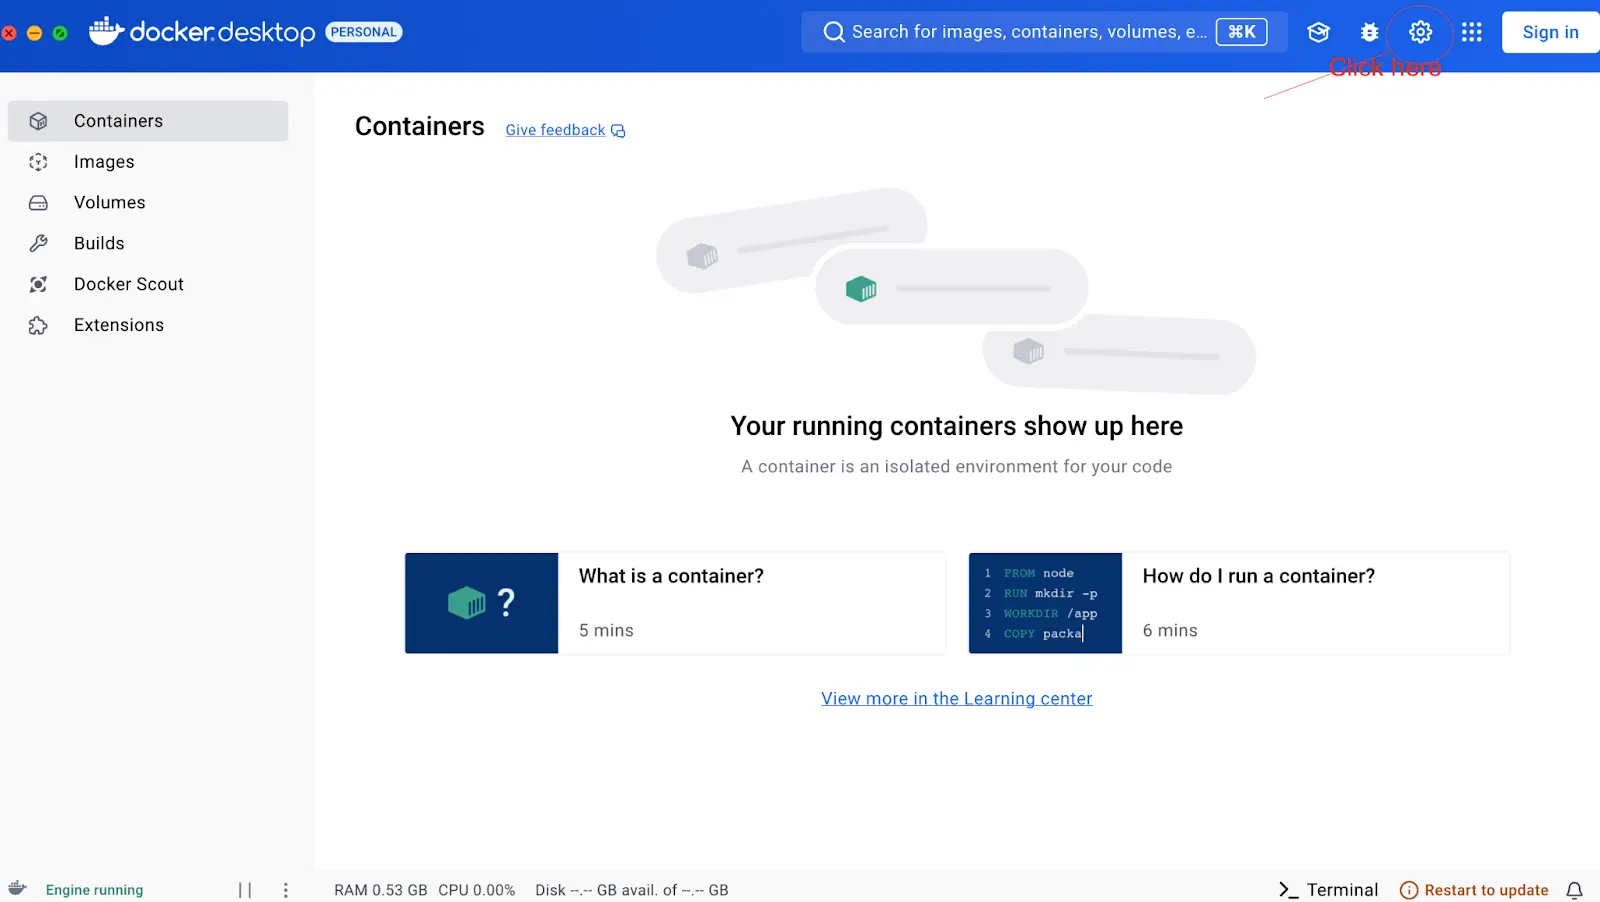
Click on the Docker menu and select Settings.

-
Select the Settings icon from the Docker Desktop Dashboard.
-
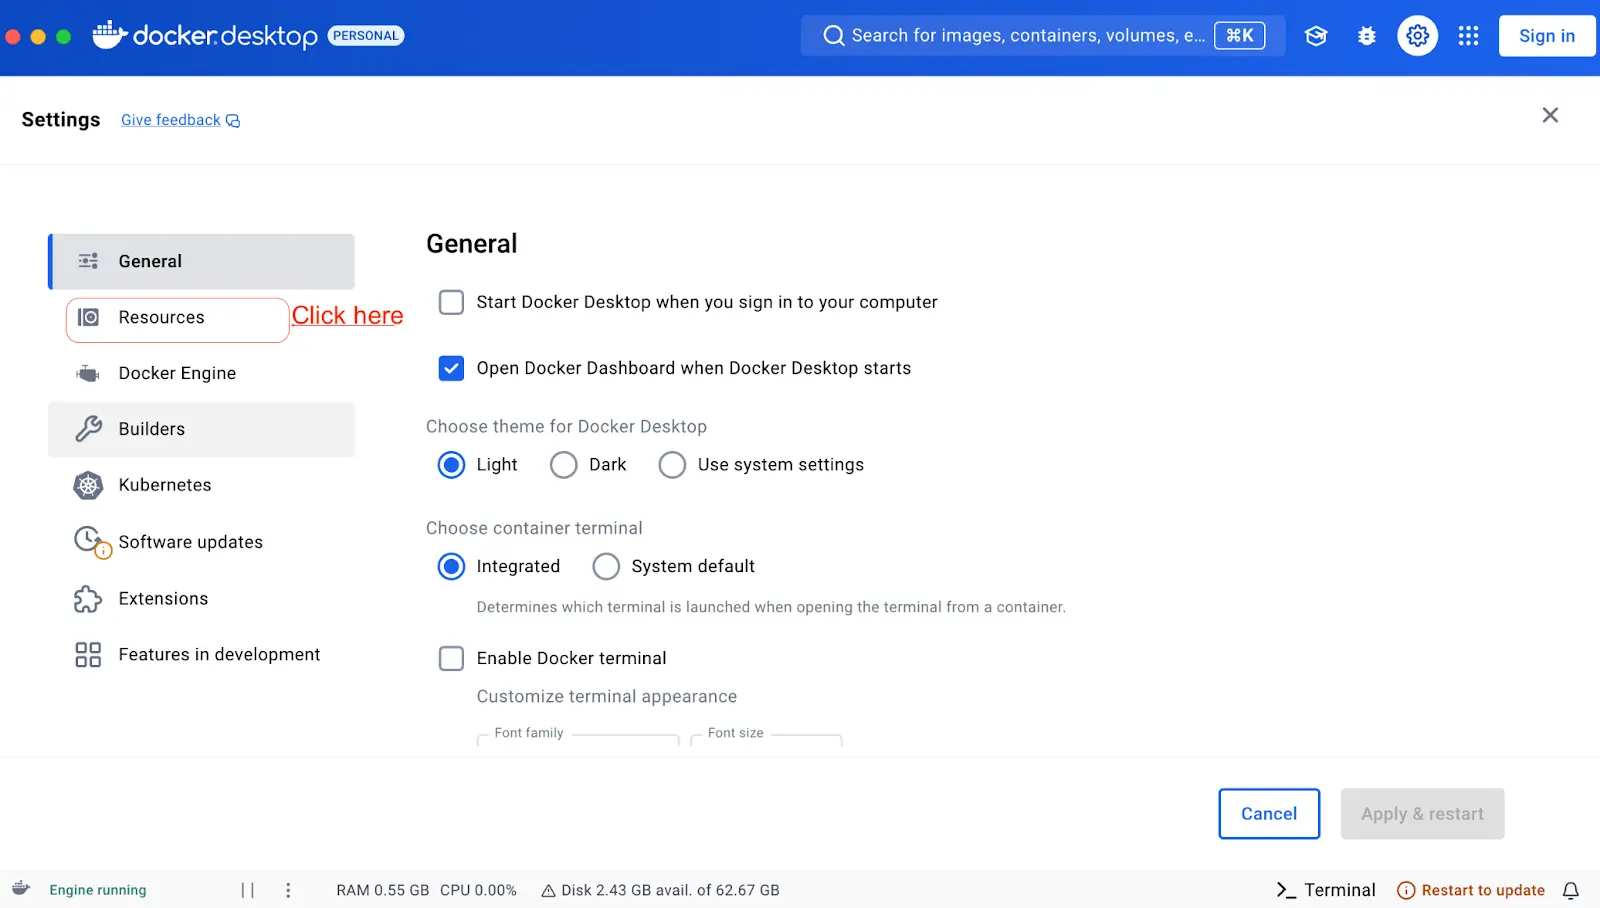
Select the Resources menu.

-
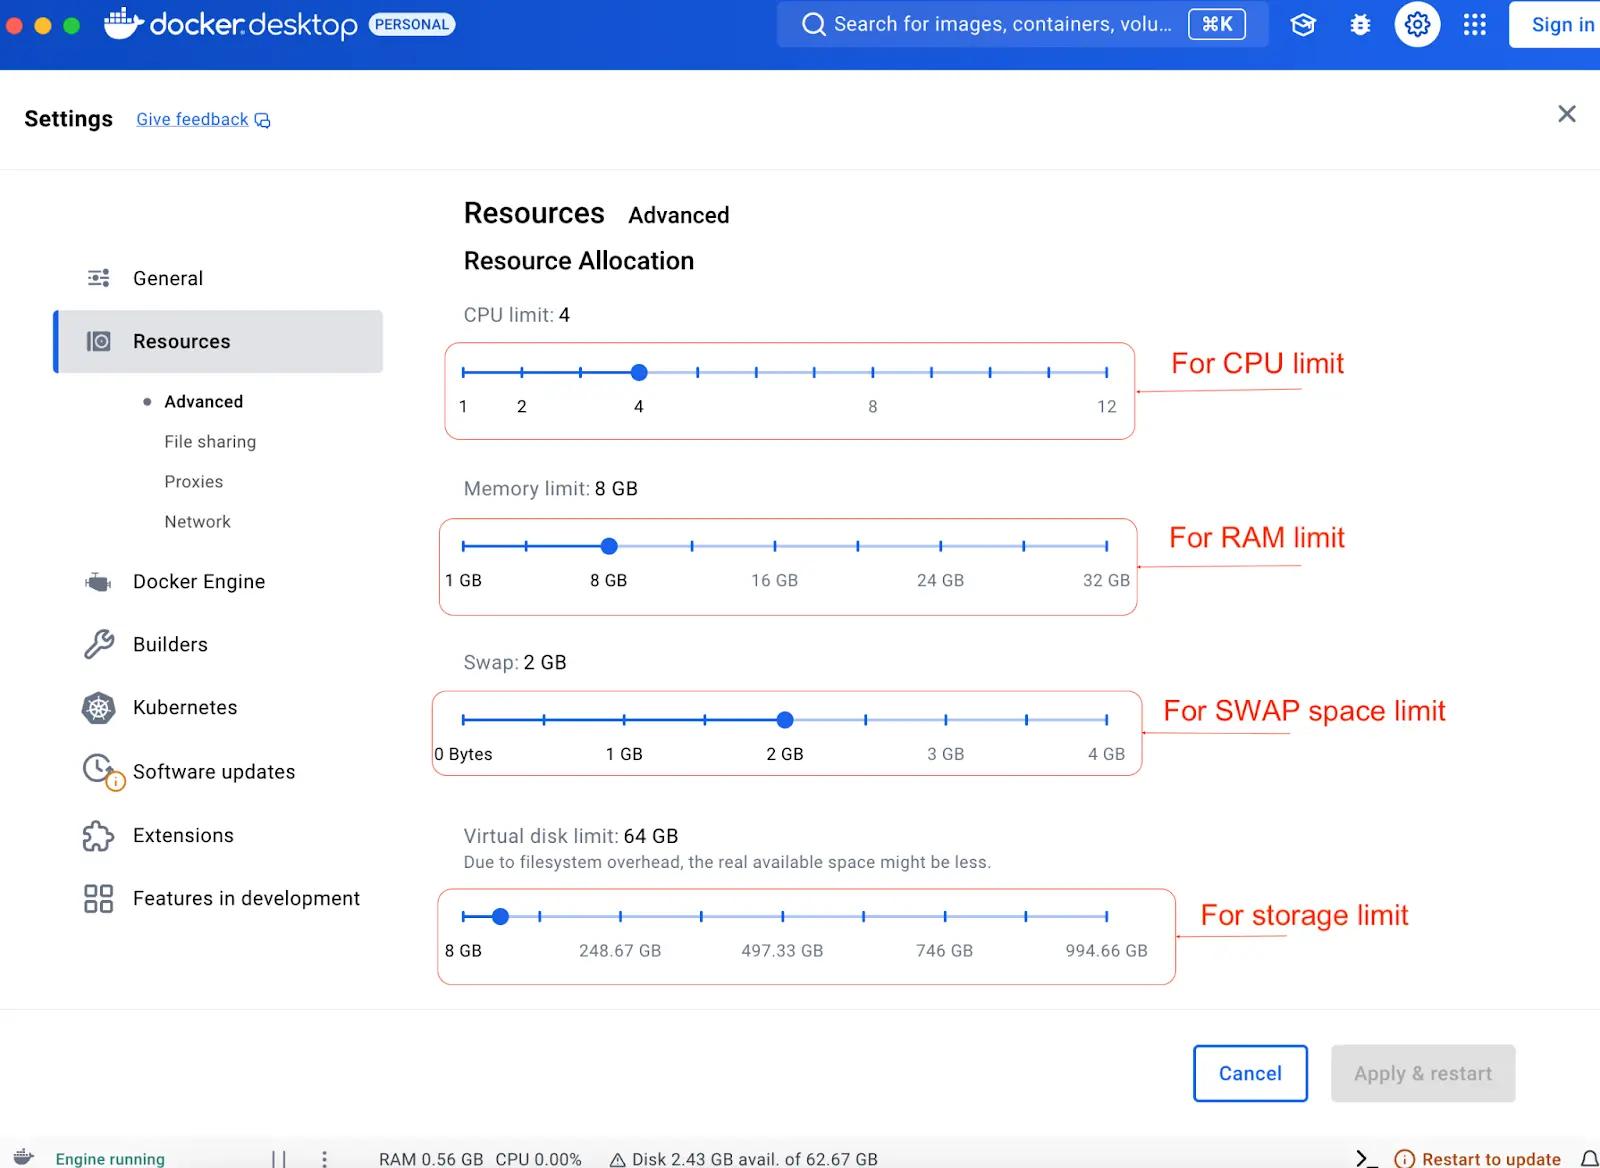
Select Advanced sub-menu and adjust resource limits

- CPU Limit: Set the maximum number of CPUs Docker can use. By default, all available processors are utilized.
- Memory Limit: Adjust the amount of RAM allocated to Docker. By default, it uses up to 50% of the host’s memory.
- Swap File Size: Configure the swap file size (default is 1 GB).
- Virtual Disk Limit: Specify the maximum size of the disk image used by Docker.
Click Apply & restart to restart the Docker Desktop with updated resource limits.
Note for Windows Node Runner
- The Resource allocation options in the Advanced tab are only available in Hyper-V mode (Install Hyper-V on Windows), because Windows manages the resources in WSL 2 mode and Windows container mode.
- In WSL 2 mode, you can configure limits on the memory, CPU, and swap size allocated to the Example
.wslconfigfile
Last updated on