Adding Nodes to a Spheron Provider
This document provides step-by-step instructions for adding both CPU and GPU nodes to a Spheron cluster. It includes preparations, script modifications, and necessary commands to ensure successful integration and functionality of the nodes within the cluster.
Adding a CPU Node
To add a CPU node to your Spheron cluster, follow these steps:
Preparing a Node for Installation
1. Prepare a node for the installation using Ansible from the earlier step.
2. Clone the Provider Deployment Repository
If you haven’t already, clone the Spheron provider deployment repository: spheron-core/provider-installation
git clone https://github.com/spheron-core/provider-installation.gitRepo has the following file structure:
- README.md
- Readme.md
- inventory.ini
- playbook.yml
- add-agent.sh
- k3s-bootstrap.sh
- run-helm-k3s-gpu.sh
- run-helm-k3s.sh
- start-spheron.sh
3. Edit the Inventory File
Open playbook/inventory.ini and update it with your server details. Example:
Ensure you set up the server IP, username, and SSH key correctly.
[testnet]
server-name ansible_host=23.158.40.38 ansible_user=root ansible_ssh_private_key_file=~/.ssh/id_rsa
4. Execute the Ansible Playbook
cd playbook
ansible-playbook -i inventory.ini playbook.yml- The server will restart after the execution. When prompted, say
Noto the request for the first node.
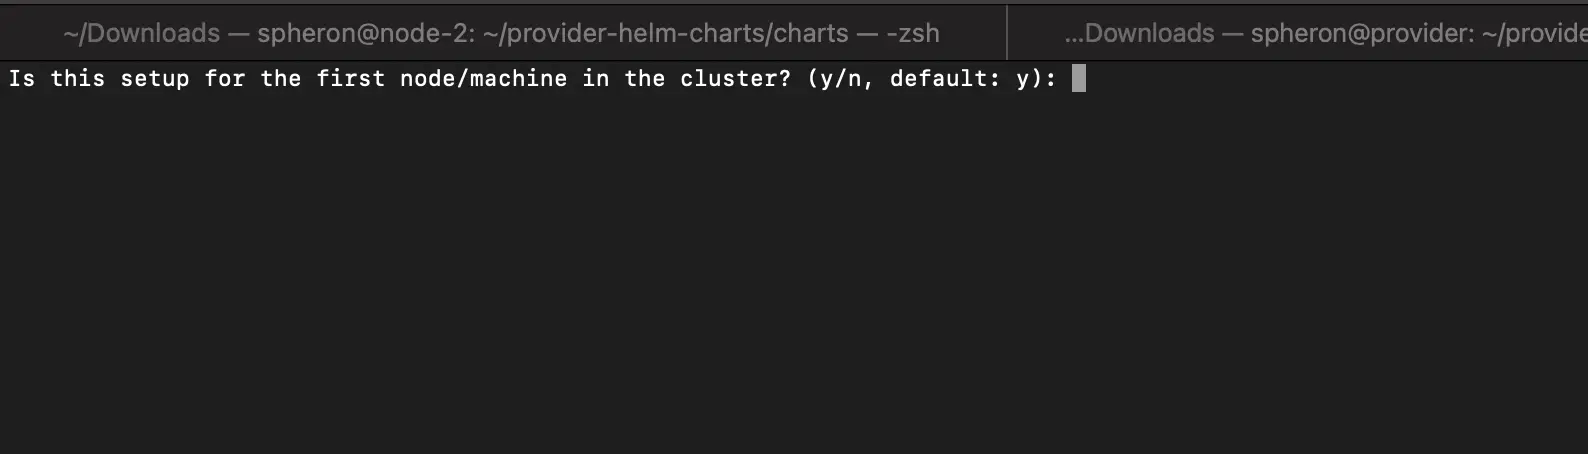
- Follow the Prompt like this:
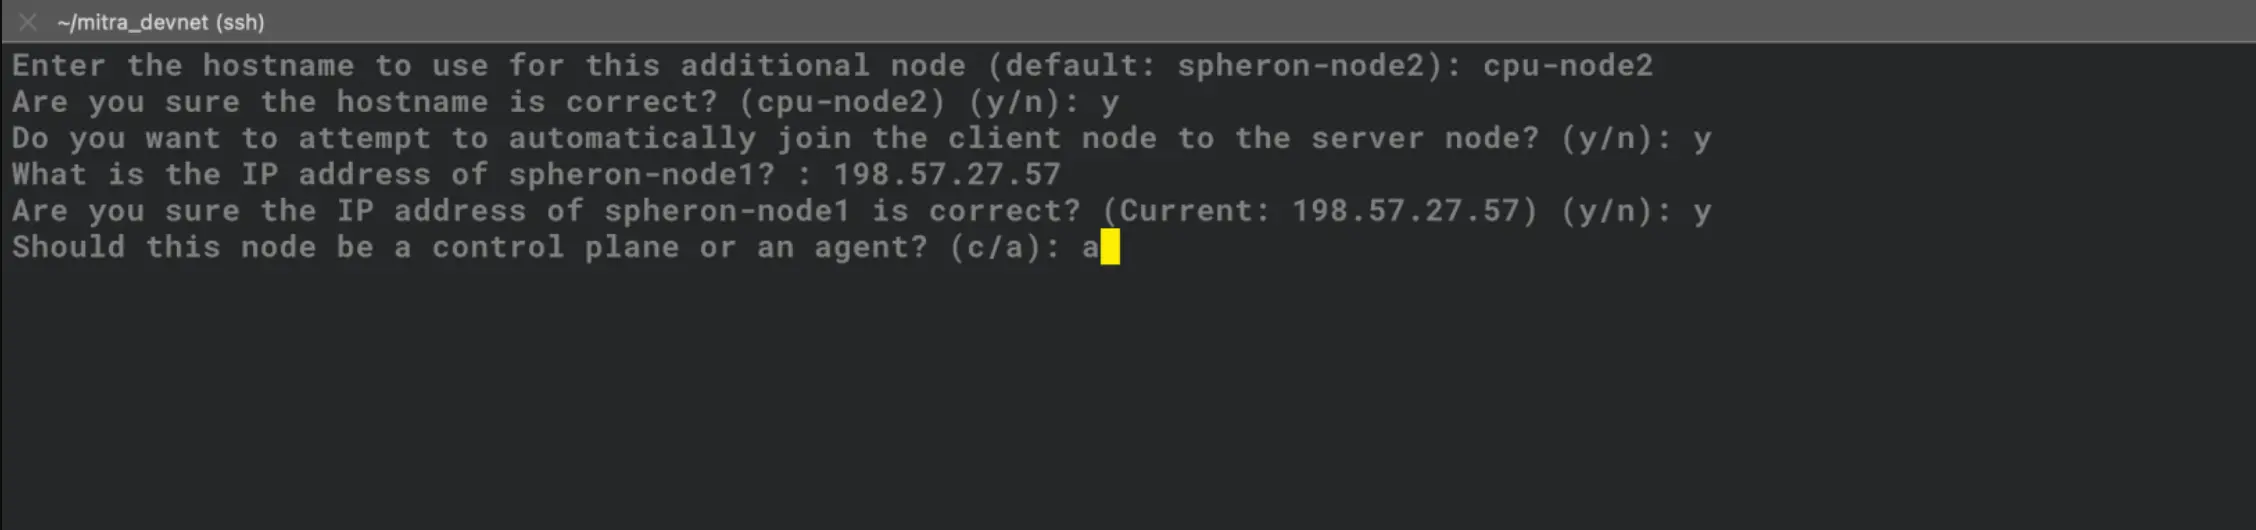
5. SSH into the Master Node
SSH into the first node (master node) of the cluster and follow the steps:
- Add the Node Using the
add-agent.shScript, run the following commands:
sudo su spheroncdwget -q https://raw.githubusercontent.com/spheron-core/provider-installation/main/scripts/add-agent.sh- Use Vim or Nano to edit the
add-agent.shscript. Update the master node IP and add child node IPs:
vim add-agent.shEdit the following lines:
SPHERON_NODE1_IP=[134.195.196.81] # your master node

# all you child nodes
nodes=(
    ["spheron-node2"]="134.195.196.213" ## add nodes like this in the list and change the node name if you want
)- Run the Script on the Master Node
sudo chmod +x add-agent.sh
./add-agent.sh
Adding a GPU Node
To add a GPU node to your Spheron cluster, follow these steps:
Preparing a Node for Installation
1. Prepare a node for the installation using Ansible from the earlier step.
2. Clone the Provider Deployment Repository
If you haven’t already, clone the Spheron provider deployment repository: spheron-core/provider-installation
git clone https://github.com/spheron-core/provider-installation.gitRepo has the following file structure:
- README.md
- Readme.md
- inventory.ini
- playbook.yml
- add-agent.sh
- k3s-bootstrap.sh
- run-helm-k3s-gpu.sh
- run-helm-k3s.sh
- start-spheron.sh
3. Edit the Inventory File
Open playbook/inventory.ini and update it with your server details. Example:
Ensure you set up the server IP, username, and SSH key correctly.
[testnet]
server-name ansible_host=23.158.40.38 ansible_user=root ansible_ssh_private_key_file=~/.ssh/id_rsa
4. Execute the Ansible Playbook
cd playbook
ansible-playbook -i inventory.ini playbook.yml- The server will restart after the execution. When prompted, say
Noto the request for the first node.
- Follow the Prompt like this:
It will isntall the GPU drivers and some scripts.
5. SSH into the Master Node
SSH into the first node (master node) of the cluster and follow the steps:
- Add the Node Using the
add-agent.shScript, run the following commands:
sudo su spheroncdwget -q https://raw.githubusercontent.com/spheron-core/provider-installation/main/scripts/add-agent.sh- Use Vim or Nano editor to edit the
add-agent.shscript. Update the master node IP and add child node IPs:
vim add-agent.sh- Edit the following lines:
SPHERON_NODE1_IP=134.195.196.81 # your master node

# all you child nodes
nodes=(
    ["spheron-node2"]="134.195.196.213" ## add nodes like this in the list and change the node name if you want
)- Run the Script on the Master Node
sudo chmod +x add-agent.sh
./add-agent.sh
Install the Nvidia Driver (First GPU Node Only)
NOTE: Only Execute the next 2 step in this section if this is the first GPU Node in your cluster.
- If this is the first GPU node, run these commands:
sudo su spheroncdhelm repo add nvidia https://helm.ngc.nvidia.com/nvidia
helm repo add nvdp https://nvidia.github.io/k8s-device-plugin
helm repo update
kubectl apply -f /home/spheron/gpu-nvidia-runtime-class.yaml
helm upgrade -i nvdp nvdp/nvidia-device-plugin \
--namespace nvidia-device-plugin \
--create-namespace \
--version 0.14.5 \
--set runtimeClassName="nvidia"- Create the Nvidia RuntimeClass using the root user.
NOTE: Only Execute if this is the first GPU node.
sudo su # Create NVIDIA RuntimeClass
cat > /home/spheron/gpu-nvidia-runtime-class.yaml <<EOF
kind: RuntimeClass
apiVersion: node.k8s.io/v1
metadata:
name: nvidia
handler: nvidia
EOFsudo su spheronConfigure the New Node
NOTE: Execute this on the new node which has the GPU in it by SSH into it.
- SSH into the new node and check if the file
/etc/rancher/k3/config.yamlexists:
cat /etc/rancher/k3/config.yaml- If the above command doesn’t show any output, create the file using following command:
cat > /etc/rancher/k3/config.yaml <<'EOF'
containerd_additional_runtimes:
  - name: nvidia
    type: "io.containerd.runc.v2"
    engine: ""
    root: ""
    options:
      BinaryName: '/usr/bin/nvidia-container-runtime'
EOF
Create a GPU Test Pod (First GPU Node Only)
NOTE:
- Only Execute these next steps in this section if this is the first GPU Node in your cluster.
- Please SSH back to the master node for the next steps.
SSH back to the master node and create a GPU test pod to check if the GPU is configured successfully with Kubernetes.
cat > gpu-test-pod.yaml << EOF
apiVersion: v1
kind: Pod
metadata:
  name: nbody-gpu-benchmark
  namespace: default
spec:
  restartPolicy: OnFailure
  runtimeClassName: nvidia
  containers:
  - name: cuda-container
    image: nvcr.io/nvidia/k8s/cuda-sample:nbody
    args: ["nbody", "-gpu", "-benchmark"]
    resources:
      limits:
        nvidia.com/gpu: 1
    env:
    - name: NVIDIA_VISIBLE_DEVICES
      value: all
    - name: NVIDIA_DRIVER_CAPABILITIES
      value: all
EOF
kubectl apply -f gpu-test-pod.yaml
echo "Waiting 60 seconds for the test pod to start..."
sleep 60
kubectl get pods -A -o wide
kubectl logs nbody-gpu-benchmark
kubectl delete pod nbody-gpu-benchmarkUpdate Provider Capabilities
On the new GPU node, update the provider configuration to add your GPU / CPU hardware and units:
- Open the configuration file in a text editor:
vi /home/spheron/.spheron/provider-config.jsonNote: Refer to Provider Configuration for checking the configuation structure and update it based on that.
-
Update the provider configuration into the
provider-config.jsonfile and save it. -
Now update the config onchain by running the below commands:
sphnctl wallet use --name wallet --wallet-secret testPasswordsphnctl provider update --config /home/spheron/.spheron/provider-config.json- Then, you need to set provider GPU & CPU attributes for Spheron liveness points:
sphnctl provider set-attribute --config ~/.spheron/provider-config.jsonNote: If you get RPC error which running these command, you can retry it or reach out to team with the issue.
Restart the Provider
Restart the provider on new GPU node to apply the new capabilities:
kubectl rollout restart statefulset/spheron-provider -n spheron-services
kubectl rollout restart deployment/operator-inventory -n spheron-services
Verify the node has GPU labels
Note: To find the node name for this step, you need to execute the below step and take the first name in the list:
kubectl get nodeskubectl describe node [Node Name] | grep -A10 LabelsAdding Nodes with Private IP
Prerequisites
- The Master node should have a public IP and be accessible to the user.
- The Master node must be able to SSH into the private nodes.
Adding a Node
Since Both the Master and Child nodes are connected via a private network, we will utilize that for this setup.
Step 1: Install GPU Drivers (If the node has a GPU)
If the private node has a GPU, follow these steps to install the necessary drivers:
-
SSH into the private node:
ssh <User>@<PrivateNodeIP> -
Install the GPU drivers:
sudo bash distribution=$(. /etc/os-release;echo $ID$VERSION_ID) curl -s -L https://nvidia.github.io/libnvidia-container/gpgkey | apt-key add - curl -s -L https://nvidia.github.io/libnvidia-container/$distribution/libnvidia-container.list | tee /etc/apt/sources.list.d/libnvidia-container.list apt-get -o Acquire::ForceIPv4=true update apt install ubuntu-drivers-common apt-get install -y nvidia-cuda-toolkit nvidia-container-toolkit nvidia-container-runtime ubuntu-drivers autoinstall -
Configure NVIDIA runtime for containerd:
mkdir -p /etc/rancher/k3/ cat > /etc/rancher/k3/config.yaml <<'EOF' containerd_additional_runtimes: - name: nvidia type: "io.containerd.runc.v2" engine: "" root: "" options: BinaryName: '/usr/bin/nvidia-container-runtime' EOF -
Reboot the instance:
sudo reboot
Step 2: Install k3sup on the Master Node
-
SSH into the Master node.
-
Download and Install
k3sup:-
Download the
k3supbinary:curl -sLS https://get.k3sup.dev | sh -
Move the binary to
/usr/local/bin:sudo install k3sup /usr/local/bin/ -
Verify the installation:
k3sup version
-
Step 3: Add the Child Node to the Cluster
-
Switch to a User with Access to the Private Node:
If the user
ubuntucan SSH into the private node (ssh ubuntu@private-ip), switch to that user on the Master node:sudo su ubuntu -
Join the Child Node to the Cluster:
Use the
k3sup joincommand to add the private node to the cluster:k3sup join --ip <ChildPrivateIP> --server-ip <MasterNodePrivateIP> --user <Ubuntu>If SSH access is set up correctly, the child node will be added to the cluster.
Step 4: Verify the Node is Added Successfully
-
Switch back to the
spheronuser:sudo su spheron -
Run the following command to verify that the node has been successfully added:
kubectl get nodes
Now your provider should have GPU or new CPU hardware working 🚀🚀🚀