Setup Provider
This guide provides detailed instructions on how to set up a Spheron provider. The process involves several steps, including SSH access, environment setup, ingress configuration, GPU cluster setup, provider installation, operator installation.
Follow the steps below to complete the setup.
Initialize setup
1. SSH into the Provider Instance
Use the following command to SSH into your provider instance:
ssh -i [ssh_key] root@[provider-ip]2. Initialize Configuration Prompts
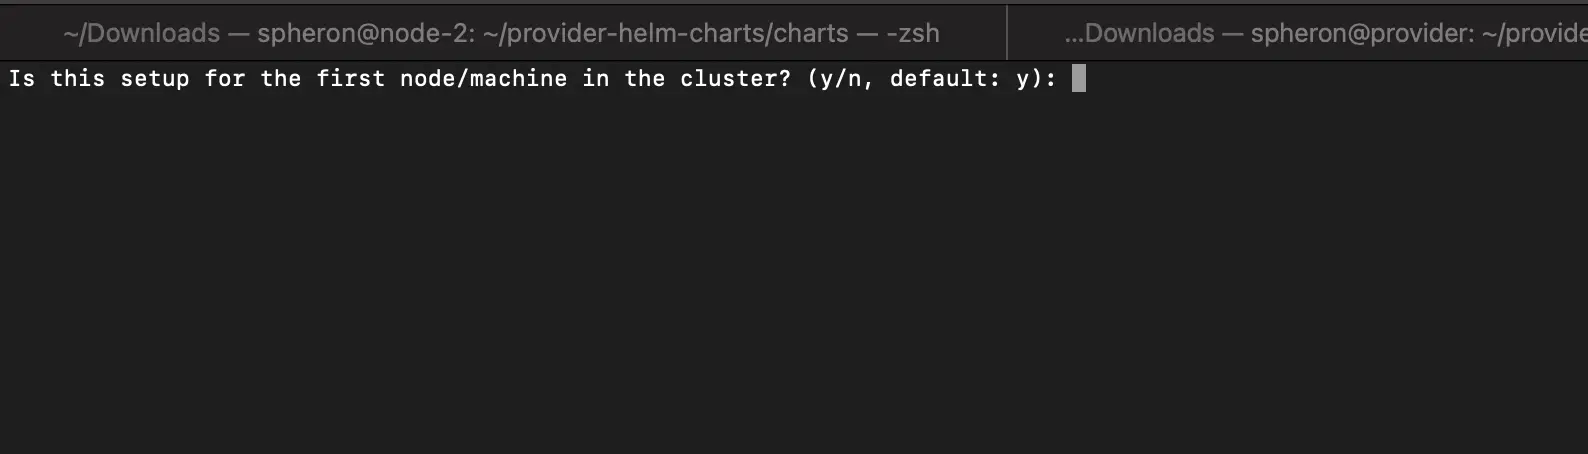
- Upon the first setup, you will be prompted with a question. Respond with
yif this is your first node setup for the provider.
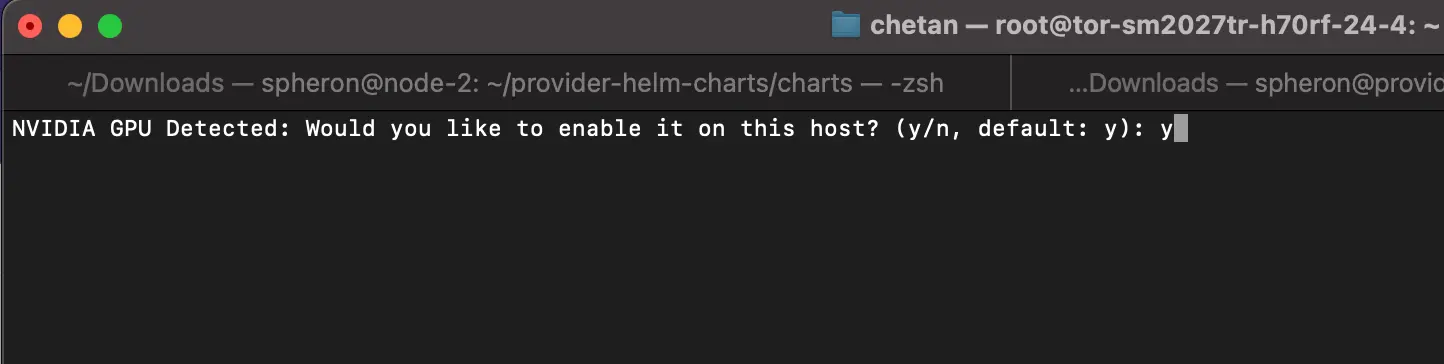
- Respond with
yif you are setting up the node for GPU.
Note: This will be prompted only if you have a GPU in the server.
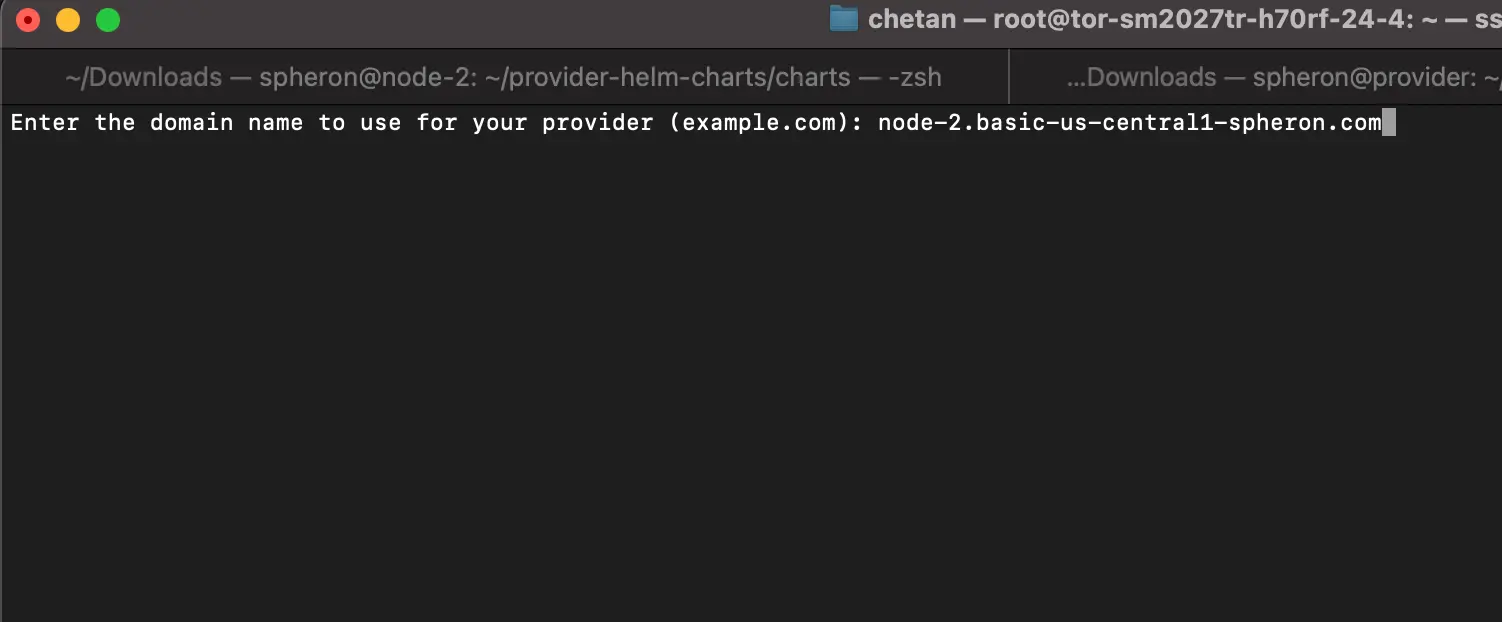
- Provide the domain you attached in the playbook hostname.
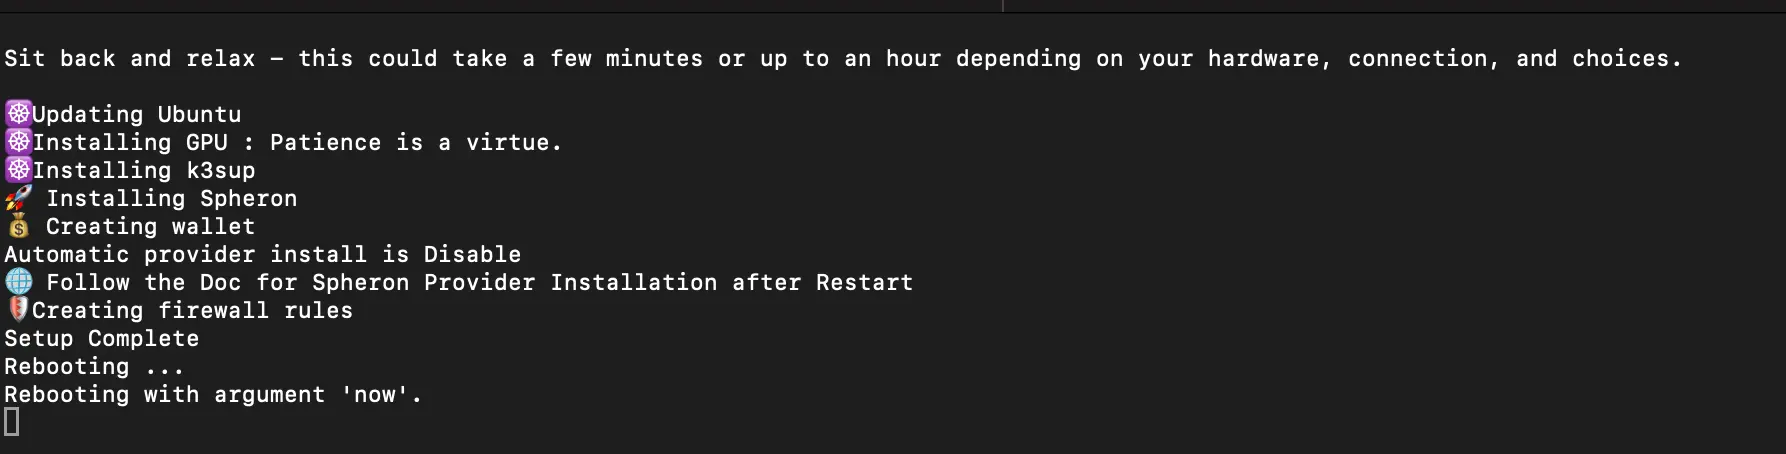
- After the successful script run, you would see a output like below.
Deposit test ETH to the provider’s wallet
- Use the following command to SSH into your provider instance
ssh -i [ssh_key] root@[provider-ip]- Change user to
spheron
sudo su spheroncd- Change the wallet configuration to default wallet.
sphnctl wallet use --name wallet --wallet-secret testPassword- Run the following command to get your wallet address.
sphnctl wallet currentYou will receive output similar to:
Currently using account wallet:
 path: /home/spheron/.spheron/wallet.json
 address: 0xff8B0b7ff6Db1E90dd3DcDfd337ae30E2a4149D1
passphrase: testPassword- Go to our Faucet to obtain some test gas tokens for the address you got from the previous step. These tokens will allow you to perform on-chain transactions.
To retrieve the private key of your wallet, run the following command:
sphnctl wallet private-keyAnd import it in your metamask or you can directly copy the content in ~/.spheron/wallet.json & save it in your local system with extension wallet.json and import it via metamask using this Guide .
- Run the following command to check the balance of your wallet:
sphnctl wallet balanceCreate Provider Configuration
Here is the format for the provider configuration:
{
  "name": "spheron-provider",
  "region": "us-east",
  "hostname": "provider.example.com",
  "gpu": [
    {
      "name": "p4",
      "unit": 1
    },
    {
      "name": "t1000",
      "unit": 1
    }
  ],
  "cpu": [
    {
      "name": "gp",
      "unit": 24
    }
  ],
  "pricing": {
    "cpu": "3.00",
    "memory": "1.00",
    "ephemeral": "0.03",
    "gpu": "p4=30,t1000=25"
  },
  "attribute": [
    "capabilities/storage/3/class=ram",
    "capabilities/storage/3/persistent=false"
  ]
}
You can edit the values to suit your requirements, but do not change the keys. These values will be recorded on-chain in our contracts. Let’s walk through what each of these configuration parameters means:
- Name: Specify the name of the provider.
- Region: Specify the region where your provider is located. Refer to the Region Support page for supported regions.
- Hostname: Provide the hostname matching the domain configured at the start of the setup. This will be exposed to users.
- GPU: List all the GPU models supported by your provider. Use the GPU shorthand (name) values from the GPU support page, and specify the number of units you are providing. These units will be used for points and to verify the correctness of your GPU units through our Slark node’s Proof of Compute challenges. Ensure you include the pricing for each GPU model in the Pricing section.
- CPU: List all the CPU types you support. Use the CPU shorthand (name) values from the CPU support page, and specify the number of units you are providing. These units will be used for points and to verify the correctness of your CPU units through our slark node’s Proof of Compute challenges.
- Pricing: This section sets the pricing for your hardware. All prices are per unit in USD. For example, the CPU is priced at $3 per CPU or thread per month. For GPUs, list each model with its unit price per month, separated by commas.
- Attribute: Add any number of attributes for your provider in a key=value pair format. For example:
These specific attributes are required only if you want to enable the shared memory (shm) feature on your provider. While not mandatory, it is recommended to enable shared memory on your provider to allow users to deploy AI workloads with shared memory enabled. Adding these attributes will not cause any issues even if you don’t use the feature.
"attribute": [
  "capabilities/storage/3/class=ram",
  "capabilities/storage/3/persistent=false"
]
Once you have updated the configuration values, create a provider-config.json file for your provider at /home/spheron/.spheron/provider-config.json. To do this:
- Switch to the spheron user:
sudo su spheron- Open the configuration file in a text editor:
vi /home/spheron/.spheron/provider-config.json- Paste the updated configuration into the
provider-config.jsonfile and save it.
Registering a Provider
Before you register, please ensure you set the wallet you intend to use for the provider. You can either create a new wallet or use the default one generated for you. For more details, refer to the Wallet Configurations section.
sphnctl wallet use --name wallet --wallet-secret testPasswordNext, register your provider, use the following command:
sphnctl provider add --config /home/spheron/.spheron/provider-config.jsonNote: You can modify and change provider details using below command:
sphnctl provider update --config /home/spheron/.spheron/provider-config.jsonSet provider attributes
You need to set provider attributes, to activate Spheron liveness points:
sphnctl provider set-attribute --config /home/spheron/.spheron/provider-config.jsonNote: This step is crucial for providers to start receiving challenges from the slark node for verification. Successfully passing these challenges enables providers to earn liveness points from the protocol. If you encounter any issues, please reach out to the team for assistance.
You can check the attributes that have been set using this command:
sphnctl provider get-attribute --category ["GPU"/"CPU"]Setup Environment
Setup the environment by running command below.
cd /home/spheron

export KUBECONFIG=/home/spheron/.kube/kubeconfig

git clone https://github.com/spheron-core/spheron-stack.git
cd spheron-stack/charts

helm repo add ingress-nginx https://kubernetes.github.io/ingress-nginx
helm repo add rook-release https://charts.rook.io/release
helm repo add nvidia https://helm.ngc.nvidia.com/nvidia
helm repo update

kubectl create ns spheron-services
kubectl label ns spheron-services spheron.network/name=spheron-services spheron.network=true
kubectl create ns lease
kubectl label ns lease spheron.network=true
kubectl apply -f crd/crd.yaml
Setup Ingress
Run the below commean to setting up Ingress.
helm upgrade --install ingress-nginx ingress-nginx/ingress-nginx \
    --namespace ingress-nginx --create-namespace \
    -f ingress-nginx-custom.yaml

kubectl label ns ingress-nginx app.kubernetes.io/name=ingress-nginx app.kubernetes.io/instance=ingress-nginx
kubectl label ingressclass spheron-ingress-class spheron.network=true
Only For the GPU Cluster
Note: Before you start the next step, please be aware that it applies exclusively to GPU servers.
- Start with the below script to setup the helm chart for the GPU provider deployment.
helm repo add nvidia https://helm.ngc.nvidia.com/nvidia
helm repo add nvdp https://nvidia.github.io/k8s-device-plugin

helm repo update


# Create NVIDIA RuntimeClass
cat > /home/spheron/gpu-nvidia-runtime-class.yaml <<EOF
kind: RuntimeClass
apiVersion: node.k8s.io/v1
metadata:
  name: nvidia
handler: nvidia
EOF

kubectl apply -f /home/spheron/gpu-nvidia-runtime-class.yaml

helm upgrade -i nvdp nvdp/nvidia-device-plugin \
  --namespace nvidia-device-plugin \
  --create-namespace \
  --version 0.14.5 \
  --set runtimeClassName="nvidia"
The script we executed in the initial steps creates a configuration file at /etc/rancher/k3/config.yaml location. Verify if it is present or else create it.
- For creating the configuration file use the following command. Run the command one by one:
sudo sucat > /etc/rancher/k3/config.yaml <<'EOF'
containerd_additional_runtimes:
- name: nvidia
type: "io.containerd.runc.v2"
engine: ""
root: ""
options:
BinaryName: '/usr/bin/nvidia-container-runtime'
EOFsudo su spheron- Now create a GPU test pod to check if the GPU is configured successfully with Kubernetes. Run the command one by one:
cat > gpu-test-pod.yaml << EOF
apiVersion: v1
kind: Pod
metadata:
  name: nbody-gpu-benchmark
  namespace: default
spec:
  restartPolicy: OnFailure
  runtimeClassName: nvidia
  containers:
  - name: cuda-container
    image: nvcr.io/nvidia/k8s/cuda-sample:nbody
    args: ["nbody", "-gpu", "-benchmark"]
    resources:
      limits:
        nvidia.com/gpu: 1
    env:
    - name: NVIDIA_VISIBLE_DEVICES
      value: all
    - name: NVIDIA_DRIVER_CAPABILITIES
      value: all
EOF
kubectl apply -f gpu-test-pod.yaml
echo "Waiting 60 seconds for the test pod to start..."
sleep 60
kubectl get pods -A -o wide
kubectl logs nbody-gpu-benchmark
kubectl delete pod nbody-gpu-benchmark- Fetch the node name using the following command to check if your nodes are configured properly:
kubectl get nodesInstall Provider
Install the helm charts:
sudo su spheroncd /home/spheron/spheron-stack/charts
helm upgrade --install spheron-provider ./spheron-provider -n spheron-services \
--set provider.walletPath=/spheron-key/wallet.json \
--set provider.walletSecret=testPassword \
--set resources.limits.cpu="2" \
--set resources.limits.memory="2Gi" \
--set resources.requests.cpu="1" \
--set resources.requests.memory="1Gi"
Verify the node has GPU labels
Note: Verify GPU label only if you have done GPU setup, otherwise check if the node has spheron labels.
Note: To find the node name for this step, you need to execute the below step and take the first name in the list:
kubectl get nodeskubectl describe node [Node Name] | grep -A10 LabelsCheck the status of your provider
Use the following curl request to check the status of the provider. Update the hostname with your own hostname to properly test the provider status.
curl --insecure https://[hostname]:8443/statusYou can also look up your provider on our Provider Dashboard to check if your era uptime is up to the mark. Additionally, you can withdraw your earnings and view your provider’s tier and the points you are accruing.
Upgrading the Provider
Upgrade the CLI
To upgrade the CLI binary and incorporate the latest updates, run the following commands:
curl -sL1 https://sphnctl.sh/ | bashNote: This step may not be necessary if there are no updates to the CLI binary. The team will inform you if this step is required during any provider upgrades.
Restart the Provider Services
To apply the latest changes from the source, restart the provider services using the following command:
kubectl rollout restart statefulset/spheron-provider -n spheron-services