How to deploy a Ruby on Rails App?
NOTE: Spheron Compute offers the flexibility to create custom configurations for your instance.
Ruby on Rails, often referred to as Rails, is a powerful web application framework that empowers developers to efficiently build and deploy feature-rich websites and applications. With its elegant syntax and convention-over-configuration approach, Rails simplifies the development process by providing a comprehensive set of tools and features.
In this guide, you’ll configure a Rails app and deploy it to Spheron Compute using Docker.
Prerequisites
To successfully follow this guide, you will need the following:
- A DockerHub (opens in a new tab) account.
- Ruby (opens in a new tab) installed on your local machine.
- A text editor. You can use Visual Studio Code (opens in a new tab) or your favorite text editor.
Step 1: Create a Rails App
-
Install Rails by running the following command in your terminal:
gem install rails -
Create a new Rails app by running the following command:
rails new railsapp -
Change into the project directory:
cd railsapp -
Generate a controller and a single endpoint by running the following command:
rails generate controller Welcome hello -
Open the file app/controllers/welcome_controller.rb and modify it to look like this:
class WelcomeController < ApplicationController def hello render plain: 'Hello, World!' end end -
Start the Rails server by running the following command:
rails server -
Open your web browser and visit http://localhost:3000/welcome/hello (opens in a new tab). You should see the message "Hello, World!" displayed.
Check out the example here. (opens in a new tab)
Step 2: Create a Dockerfile
Here's what the dockerfile for this Rails app will look like:
# Use an official Ruby runtime as the base image
FROM ruby:3.0.0

# Set the working directory in the container
WORKDIR /app

# Copy the Gemfile and Gemfile.lock to the container
COPY Gemfile Gemfile.lock ./

# Install dependencies
RUN bundle install

# Copy the application code to the container
COPY . .

# Expose the port that the Rails server listens on
EXPOSE 3000

# Start the Rails server
CMD ["rails", "server", "-b", "0.0.0.0"]
Step 3: Set default platform for docker build
Docker images built with Apple Silicon (or another ARM64 based architecture) can create issues when deploying the images to a Linux or Windows-based AMD64 environment. Before running the docker build command, run this command in your terminal:
export DOCKER_DEFAULT_PLATFORM=linux/amd64Step 4: Build Docker image
To build the Docker image:
- Save the above Dockerfile in the root directory of your Rails app.
- Open a terminal and navigate to the root directory of your project, where the Dockerfile is located.
- Run the following command to build the Docker image:
docker build -t railsapp .- After the build process completes, you can run a container based on the image using the following command:
docker run -p 8000:8000 railsappStep 5: Push the app to DockerHub
To push an image, you first need to create a repository on Docker Hub.
Create a repo
To create a repository on Docker Hub:
- Sign up (opens in a new tab) or Sign in to Docker Hub (opens in a new tab).
- Select the Create Repository button.
- For the repo name, use railsapp. Make sure the Visibility is Public.
- Select the Create button.
Push the image
- Login to the Docker Hub using the command docker login -u YOUR-USER-NAME.
- Use the docker tag command to give the railsapp image a new name. Be sure to swap out YOUR-USER-NAME with your Docker ID.
docker tag railsapp YOUR-USER-NAME/railsapp- Now try your push command again. If you’re copying the value from Docker Hub, you can drop the tagname portion, as you didn’t add a tag to the image name. If you don’t specify a tag, Docker will use a tag called latest.
docker push YOUR-USER-NAME/railsappHere's what a Docker Image will look like on Docker Hub:
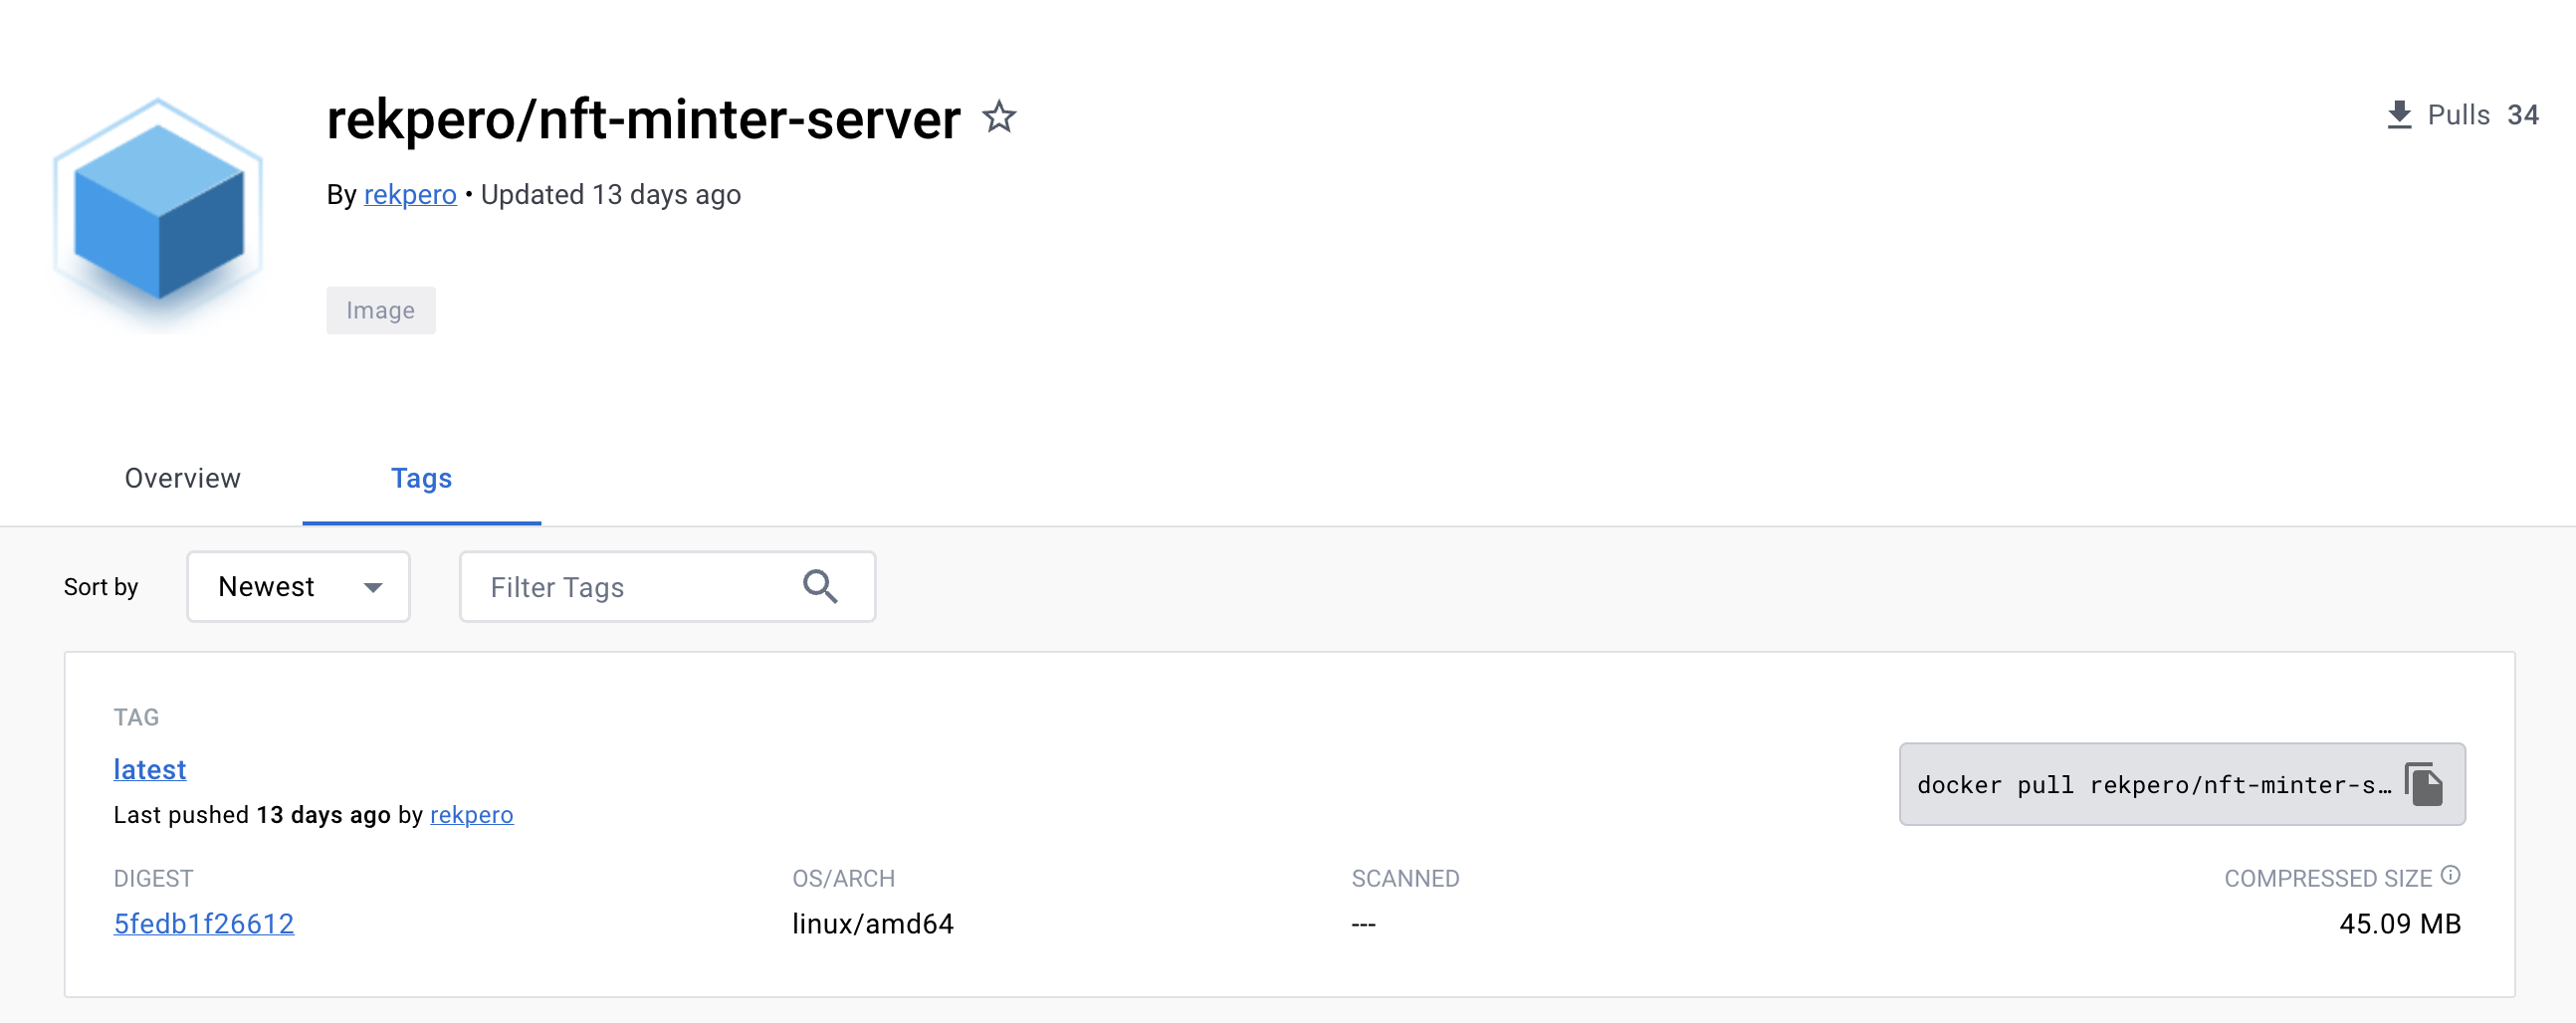
Check out this docker image here. (opens in a new tab)
Step 6: Run on Spheron Compute
To run your app on Spheron:
- Click "New Cluster" on the top right corner.
- Choose "Compute" to use CPU-based instances for running containers.
- Choose your desired Compute Type option under Compute Type.
- Select Import from Docker Hub.
- Enter the names for your cluster and docker image.
- Then, Add the tag and Click "Next."
- When selecting a region, we recommend starting by trying to deploy in a region closer to you. If you encounter any issues, you can consider switching to other regions. Choosing a region closer to you can improve performance and reduce latency. Click here to know more.
- Spheron will automatically select the recommended plan for the specific template. If you intend to move forward with the recommended plan, Create new Port Policy Mapping and just Click "Deploy" to initiate deployment.
- Select the instance plan that suits your needs. You can use the "Create Custom Plan" toggle to create custom plans for your CPU based instance.
- Configure Storage (SSD) plan for your instance. Use the "Add Persistent Storage" toggle to add persistent storage for your instance.
- Create new Port Policy Mapping. Add the container port, and Select the exposed port you want to map it to. Click here to know more.
- Add Environment Variable, if any.
- Add Secret Environment Variable if the value is a secret key. It will not be saved in the database. Click here to know more.
- You can add advanced configuration if required. Click here to know more.
- You can add health checkup if required. Click here to know more.
- Click "Deploy" to initiate deployment.
NOTE: Spheron supports only public docker images at the moment.
Verify Installation
The Rails App can be accessed only after the Compute Instance is provisioned. Thus, you need to wait for the installation to complete before you can start using the app. Your Apps can be verified for successful installation using the instructions below, while others may require different procedures.
Follow these instructions to verify the installation:
- Attempt to access the app
An App has an estimated deployment time of about 1-2 minutes. If you can successfully access it, the installation has been completed successfully. You can connect using the connection URL of the instance, which will also be provided after the instance is provisioned. - Check instance logs and events
After successfully deploying your Rails App, it will produce logs and events, which you can check for any issues or errors.
Common Errors
Docker Fails When Building on Apple Silicon
ERROR: exec /usr/local/bin/docker-entrypoint.sh: exec format error
Docker images built with Apple Silicon (or another ARM64 based architecture) can create issues when deploying the images to a Linux or Windows-based AMD64 environment. Before running the docker build command, you must run this command in your terminal:
export DOCKER_DEFAULT_PLATFORM=linux/amd64